
In the interest of providing something useful on this blog I'll go ahead and offer a few tidbits on preparing resin kits. That's a perfect task for the summer modeling season.
These are bits and pieces of a planned eBook on building and detailing rolling stock. While I still hope to finish that book - someday - in the meantime here's a couple of things from the cutting room floor.

Cleaning up the parts
No matter the manufacturer, I start by cleaning the parts before assembly, and then follow up with a pre-painting touch up cleaning.
Different manufacturers use different mold releases - some of them are really hard to clean off completely - and you won't realize it's still there until you try to paint the model and the paint either beads up or comes off in sheets. Sylvan mold release seems to be the toughest.
I've tried warm soapy water, Goo Gone, Sylvan resin prep (which I'm pretty sure is some form of Goo gone), but one thing I've found always works pretty well is Shout. After removing the resin sheets from the tissue paper wrapping I gave each of the parts a shot of "Shout" (yes, the laundry stain pre-treat stuff) and scrub them gently with a toothbrush before rinsing them under warm water. Then I put the parts aside to dry.
A few tools
I don't use a lot of fancy tools to build these kits, mostly a razor blade, an X-acto, some sanding sticks/files, pliers (to form wire), tweezers, a small machinists square, and starting in the last few years, an Opti-visor....

The NWSL True-Sander
Coffman right corner clamps
Removing flash
 But time and care spent on this task definitely shows on the finished model. Despite what the instructions say, I don't clean off all the parts before I start constructing the model. For one thing, I'd run out of enthusiasm before getting started, and for another I'd likely lose half the parts before getting everything together!
 If there's a trick to removing the flash it's to be careful to not accidentally remove any detail that should be there. On flat kits it's quite common to find the sides or ends have some detail that needs to be preserved. A perfect example are the rivets on the side of the ends of this car - you might be tempted to sand the edge flat on your NWSL Tru-Sander - but you'd be removing the rivets and other details. The trick is to remove the flash without destroying the detail in the process. For this, I use a razor blade held at a steep angle to scrape away the resin flash. I've found it's sometimes better to use a slightly dull razor blade for this scraping technique. A sharp, fresh blade can sometimes slice right into the resin whereas a dull blade will meet with just enough resistance that you can avoid digging into the part.
 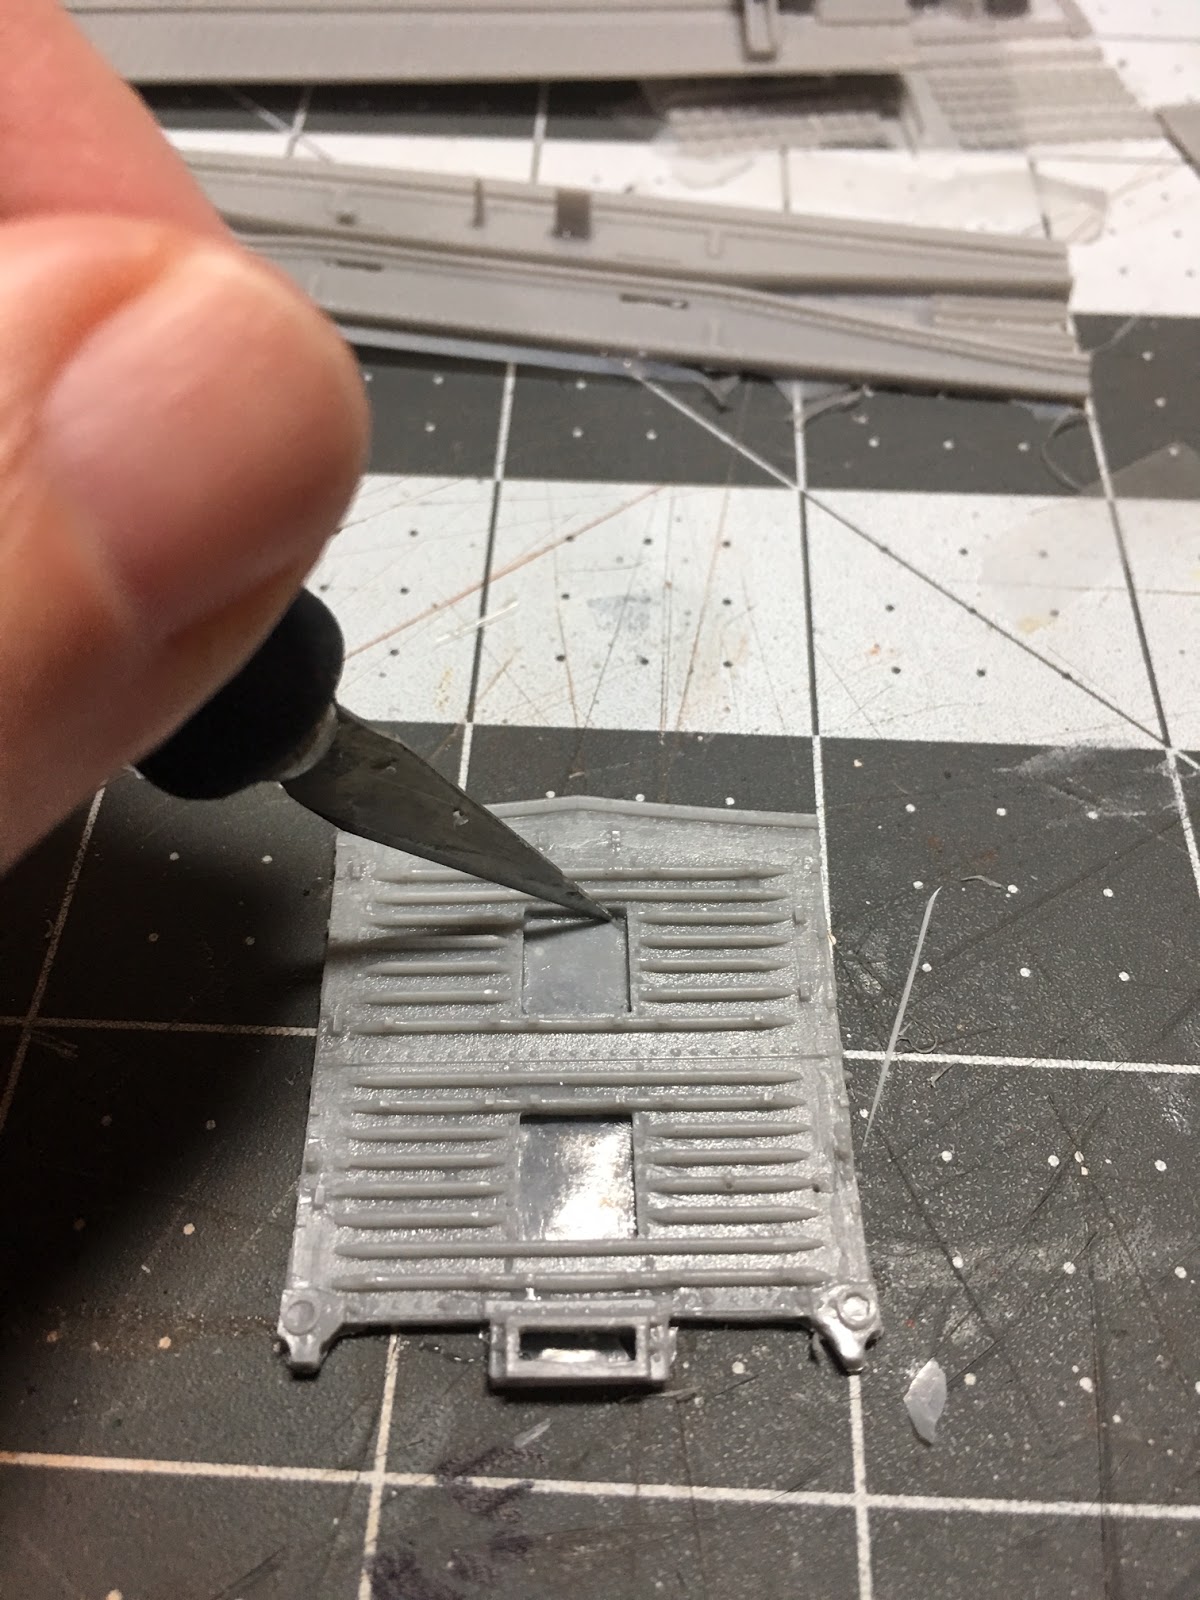 To remove flash from openings, such as the end of this ventilated boxcar, I use a hobby knife and trim the resin flash to the edges, then use sanding sticks and/or files to true up the openings.