
By Marty McGuirk
Building rolling stock is
perhaps my favorite part of the hobby. Since I profess to like it so much, you
shouldn’t be surprised that I think building, painting and decaling a
single-color boxcar should not be that much of a challenge. Then I ran into
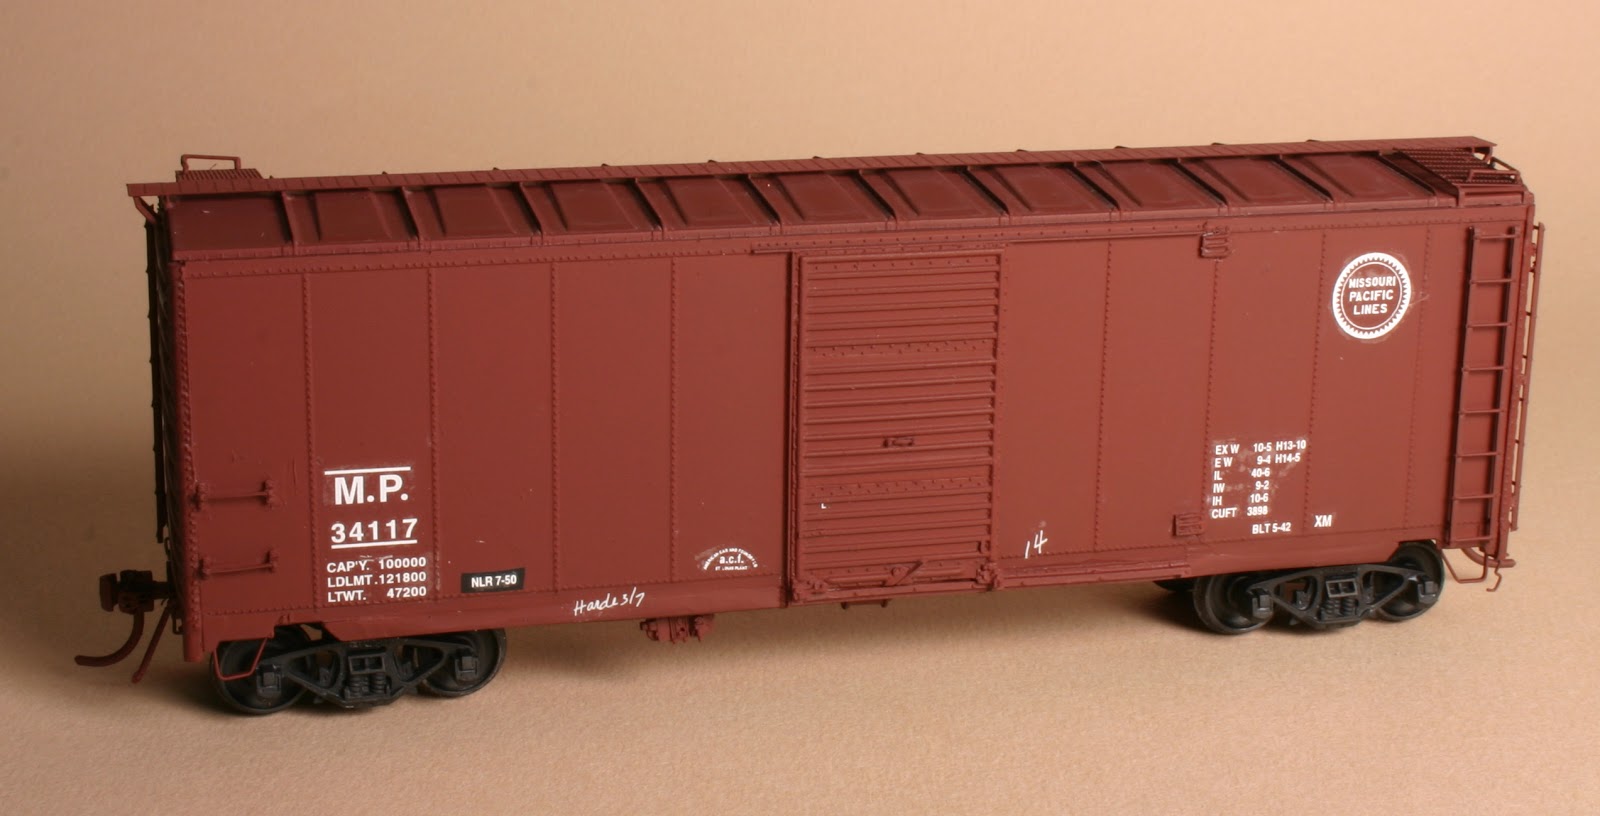
this project – a Missouri Pacific 10-6” 40-foot boxcar.
The origin is one of the
Sunshine Models “doorprizes” from the Naperville Railroad Prototype Modelers
shows Martin and Patricia Lofton sponsored for years.
These varied by year - some are loads, and one year it was a complete CB&Q flat car, but most have been an assortment of resin details (doors, ends, etc . . .) to convert an injection molded plastic car to some specific prototype. I have ten or so of these and they all produce some pretty neat and unusual transition era freight cars.
These varied by year - some are loads, and one year it was a complete CB&Q flat car, but most have been an assortment of resin details (doors, ends, etc . . .) to convert an injection molded plastic car to some specific prototype. I have ten or so of these and they all produce some pretty neat and unusual transition era freight cars.
The building process went remarkably well. The door prize parts were installed on an undecorated InterMountain 10’-6” AAR boxcar, and I even replaced most of the Intermountain
details (ladders, brake rigging and the like) with after-market parts. I rearranged the brake components to match
the prototype (which differed from the stock Intermountain arrangement and
fashioned the underbody piping from appropriate sized brass wire.

I photographed the finished, but unpainted car and then sprayed the model with Polly Scale acrylic paint. Then, like usual, I gave the model a clear gloss coat (Polly Scale Clear Gloss) and applied the decals. I finished decaling and applied the final clear flat overcoat. Since I didn’t have a spray booth, and didn't have any Polly Scale Flat Clear, I used Testor’s Acryl Clear Flat – which is a brand more commonly used for military models and the only one available from the closest hobby shop.
It was the first time I tried using this stuff (lesson learned, experiment
on old Athearn “blue box,” not a model you care about!). Whatever the cause, when the stuff dried it
left a visible, white, streaky haze. Perhaps I got an old bottle of the stuff.
What a mess.

I studied the model, and figured the basic car was worth the effort to strip and refinish it. But recently I’d been reading in FineScale Modeler about using Future Floor (now marketed as “Pledge with Future Shine) as a decal clear coating. I have some of the stuff, so I figured I had nothing to loose. If it worked, great, if not, it was just one more layer to strip. I lightly brushed a coat of Future on the sides and left it to dry overnight.
 This
next morning the silvering had all but disappeared. Better yet, that cloudy streaking was Gone!! I think the remaining issues with the finish can be hidden with some careful weathering. Once the model is weathered, I'll post a follow
up. In the meantime, I think I'll use Future to do the decals on my next rolling
stock model. I still haven’t figured out acrylic clear flats. Believe I stick
with good ole’ Dullcote for now!
This
next morning the silvering had all but disappeared. Better yet, that cloudy streaking was Gone!! I think the remaining issues with the finish can be hidden with some careful weathering. Once the model is weathered, I'll post a follow
up. In the meantime, I think I'll use Future to do the decals on my next rolling
stock model. I still haven’t figured out acrylic clear flats. Believe I stick
with good ole’ Dullcote for now!
No comments:
Post a Comment